
A Step By Step Guide to Demolish Your Deck
The easiest way to demolish a deck is to start from the top and work towards the bottom. Nailed or screwed once you have the right tools you can work your way through all the decking with the appropriate tools.
Remove the Deck Handrails
 The first step is to start removing the handrails. You will need to work from one end to the other using a praybar or crowbar if they are nailed together or a screw driver if they are screwed.
Cut or Pry Off the Deck Boards
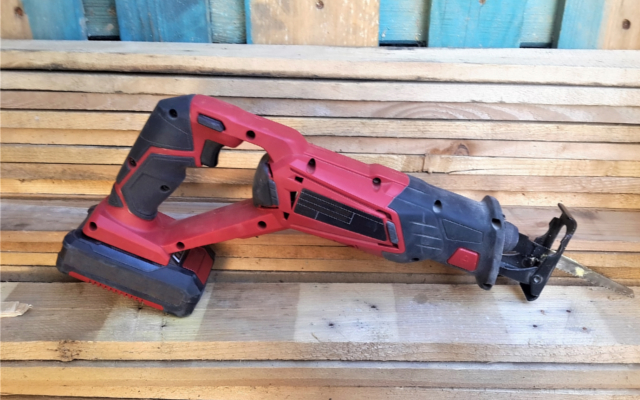
 These are the boards you are stepping on. Start removing deck boards from one side and keep working towards the other. You can pry them off or cut them with a saw. This part of the deck removal process will take time. You will need to work methodically and try not to break too many boards. Organize the boards by length and try to keep nails and screws removed in one place.
Cut The Frame Away From The Main Structure
 Decks are usually attached to the structure on one side. This step has to be performed slowly and with care. After all the deck boards have been removed the main frame connected to the house is next. Once the deck frame is freed from the structure you can continue with the Joists
Cut and Remove The Joists
Using the reciprocating saw or a hammer you need to free up the ends of each joist from the hangers where they are fastened.
Remove Hanger Boards
You can use a pry bar or a sledge hammer for this but the idea here is to break all the outer hanger boards off the deck support posts.
Dig Out Support Posts
 You will need to dig around the concrete footings and pull to loosen them from the ground. There are different types of footings supporting decks. Concrete footing are fairly common.